Automated Build Testing for Arduino Libraries
So much can go wrong between your code and the Arduino in the real world. Its vital to keep removing the possible errors in this chain. The lowest hanging fruit we're missing in the Arduino community is testing. We should really be unit testing our code logic to see that it does exactly what we think it does, but until that day we can do something even simpler. We can test that our code actually builds!
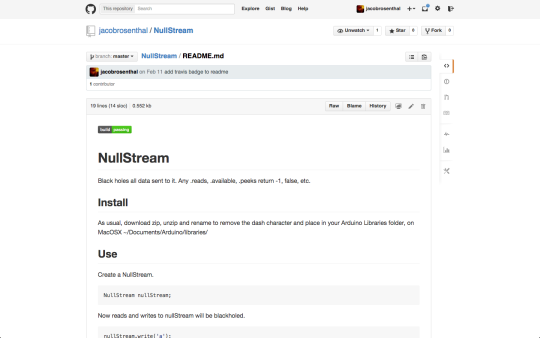
To see a working example, check out one of my libraries called NullStream. Its goofy but useful library that creates a Serial object that doesn’t actually do anything with data you .write to it. /dev/null for Arduino. You’ll notice the only difference from a regular Arduino library on Github is the .travis.yaml file. I’m using a free service called Travis to monitor my repo and when it sees new code create a server to do whatever I want! As of Arduino ~1.5.2 you've actually been able to build Arduino code from the command line, so we ask Travis to download Arduino, move some stuff around, and try to build our code.
To get setup on your own repo follow the Travis getting started guide to sign in and enable Travis on your Github profile. When you get to step three you'll need a .travis.yaml file, grab my Arduino command line Travis testing example. Travis have a nice guide explaining the configuration file.
At the very least you’ll need to change NAME=NullStreamExample to NAME=Whatever your example sketch is called. Note: This example doesn’t download any non Arduino libraries (except for the one under test) -- If your library depends another library take a look at the .travis.yaml file and try to use wget to download and 'install' another library. Save the file to your Github repo as .travis.yaml, git add it, commit and push, and check your dashboard to watch Travis work its magic.
If you have a build error don’t fret. There are build logs you can examine for the error message.
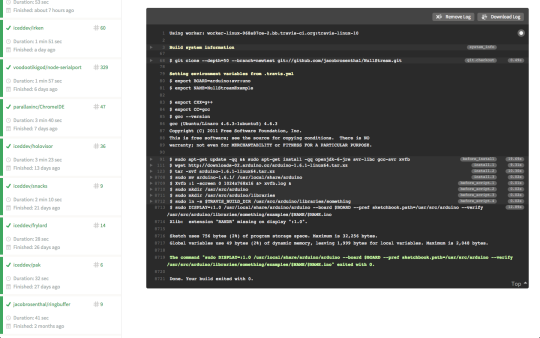
Tests should only take a few minutes. If they’re taking longer and timing out thats Arduino failing silently and hanging open because some build option or path was incorrect. You sadly just need to keep trying different options until you can get it to tell you something useful. When you're all done re-commit and repeat until its all ironed out.
Once you get everything working, it is really nice to show your users by adding a status badge. Follow the directions to find your generated markdown text and paste it to the top of your README.md file.
In the future if you push code that doesn’t work Travis will email you and that badge will turn red alerting you something is wrong. As we said, there is a lot more we could do, but this is a great start.
So, now you can guarantee your code builds on an Arduino Uno. But lately there are 10s of Arduino models, what about those? Some Arduino’s have more or less memory, or more or less Serial ports or different architectures like Microchip or Arm. Do you know which boards your code supports? For extra credit you could change the configuration file to check that your code builds on a bunch of them!